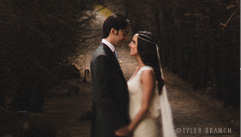
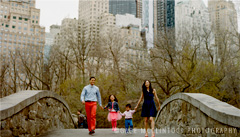
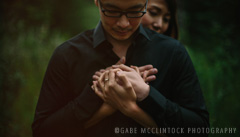
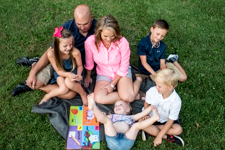
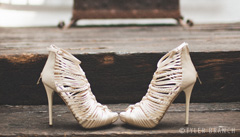
When it comes to taking photos the composition you choose to use is just as important as the subject you are shooting. Photographers are very intentional when using composition techniques. A composition holds the power of how a photo is viewed. And when done correctly, it usually holds the viewer’s eye much longer than using no composition at all. Here are 8 composition techniques that I use to make my photos more appealing.
1. FRAMING
This technique is just as it sounds. You are literally framing your subject in the photo. This draws the viewer’s eye to whatever is within that frame. In the photo below there was a gap between the landscape rocks which resulted in a frame. I was able to get the cat to cooperate (finally) and peek its head in that opening creating a frame around the cat. Framing is found everywhere. You can use tree branches, stair railings, gates, doorways etc. The options are limitless, you just have to be creative.
.jpg)
2. LEADING LINES
Leading lines is another creative composition that can also be found everywhere if you are looking for them. I have found they can be vertical, horizontal, or diagonal as long as they lead the viewer to their subject. Leading lines can be a row of chairs or trees, stairs, fencing or even a road. In the example below my niece and I were in a parking garage when I saw a safe deserted corner of parking spots. I knew immediately the photo I wanted to capture. I had her walk on the parking spot line away from me which became a game to her. The end result has the viewer’s eye following the line leading straight to my niece which is exactly what I intended.

3. RULE OF THIRDS
The definition for the rule of thirds is mentally dividing your photo using two vertical lines and two horizontal lines resulting in thirds, vertically and horizontally. The idea is to position the most important detail of your photo onto one of those lines. In my photo below I positioned the rose on the far left side of the frame. When looking at the photo your eyes immediately move to the left hand side. If I had centered the rose in the middle of the frame the photo would have been an o.k. photo. But by off centering the rose on the left side the viewer will take a double look at the photo because the composition makes it stand out more making the photo more appealing.
.jpg)
4. FROM ABOVE
Shooting from above is one of my favorite compositions. I achieve this composition using my tilt screen and setting my camera to LIVE mode while standing on a stool or chair if needed. My niece always tells me to be careful when she sees me climbing to get a shot : ) Being able to see what my photo will look like using LIVE mode along with tilting my screen to where I need it has helped me tremendously. It’s a new perspective that I love to tackle.

5. DOWN LOW
Capturing a photo at your eye level is normal and expected. What’s not expected is getting down low to achieve a new perspective. When I photograph children playing on the floor I get right down there with them either by kneeling, sitting or even laying on the ground. I want to see the world through their eyes. You can’t always accomplish that towering over them. Getting down low to capture children records their childhood in a whole new way. You are preserving their smallness which is priceless. Animals are another subject I like to shoot down low. In my example below my dog was enjoying a lazy afternoon. I knew photographing him at my eye level would only give me a snapshot look. I knew I needed to photograph him on his level so I laid down on my stomach to frame the shot. He didn’t seem too bothered by the attention : )

6. REFLECTIONS
Photographing reflections can be challenging, especially when you are trying to avoid capturing yourself in the photo along with the subject. In my photo below my niece was watching t.v. when I noticed her reflection in the mirror on the dresser. The mirror had two moving wings on each side which presented an opportunity to create a cool photo if done correctly. The left side of the photo was shot using the middle part of the mirror while the right side of the photo was shot using the right wing of the mirror which I was able to move. The results gave me twins : ) Mirrors are not the only way to achieve a reflection. You can find reflections in windows, water puddles, even shiny surfaces. The more creative you get the more appealing your photos will be to the viewer’s eye.

7. BOKEH
Oh how I love bokeh!! Bokeh is the intentional blur created when using a small aperture. It’s that creamy look either in the background or foreground that helps your main subject stand out. The smaller the aperture number the blurrier the bokeh. I wanted the focus in my photo below to be on my drink with bokeh in the background. I wanted just enough bokeh to blur the background but still be able to recognize the McDonald’s arch.

8. NEGATIVE SPACE
Out of all the composition techniques there are, viewing a photo that has negative space gets my attention and a second glance quicker than any other composition. When you isolate your main subject, surrounding it with negative space, your photo instantly pops directing the viewer’s eyes to the subject. When looking at the photo below my eyes are immediately drawn to the strawberry. It stands out so much more because it’s surrounded by white negative space.

Using composition techniques in your photography gives you more options to be creative resulting in more variety in your photos. Applying these techniques when framing your shot will give you endless possibilities to capture more appealing photos that viewers will be drawn to.
.jpg)
